Updated on April 3, 2025
Understanding Calf Pain
If you've ever had that tight, nagging feeling in your calf after a run or workout, you're definitely not alone. Calf pain is one of the most common issues people deal with especially if your routine includes running, jumping, or sudden bursts of movement.
Your calf is made up of three main muscles: the two gastrocnemius muscles (medial and lateral) and the soleus. All of them attach down into the Achilles tendon, which means when your calf's under too much stress like during a sprint or a heavy landing it’s easy to end up with a calf strain or general soreness.
One tool that can help? KT tape.
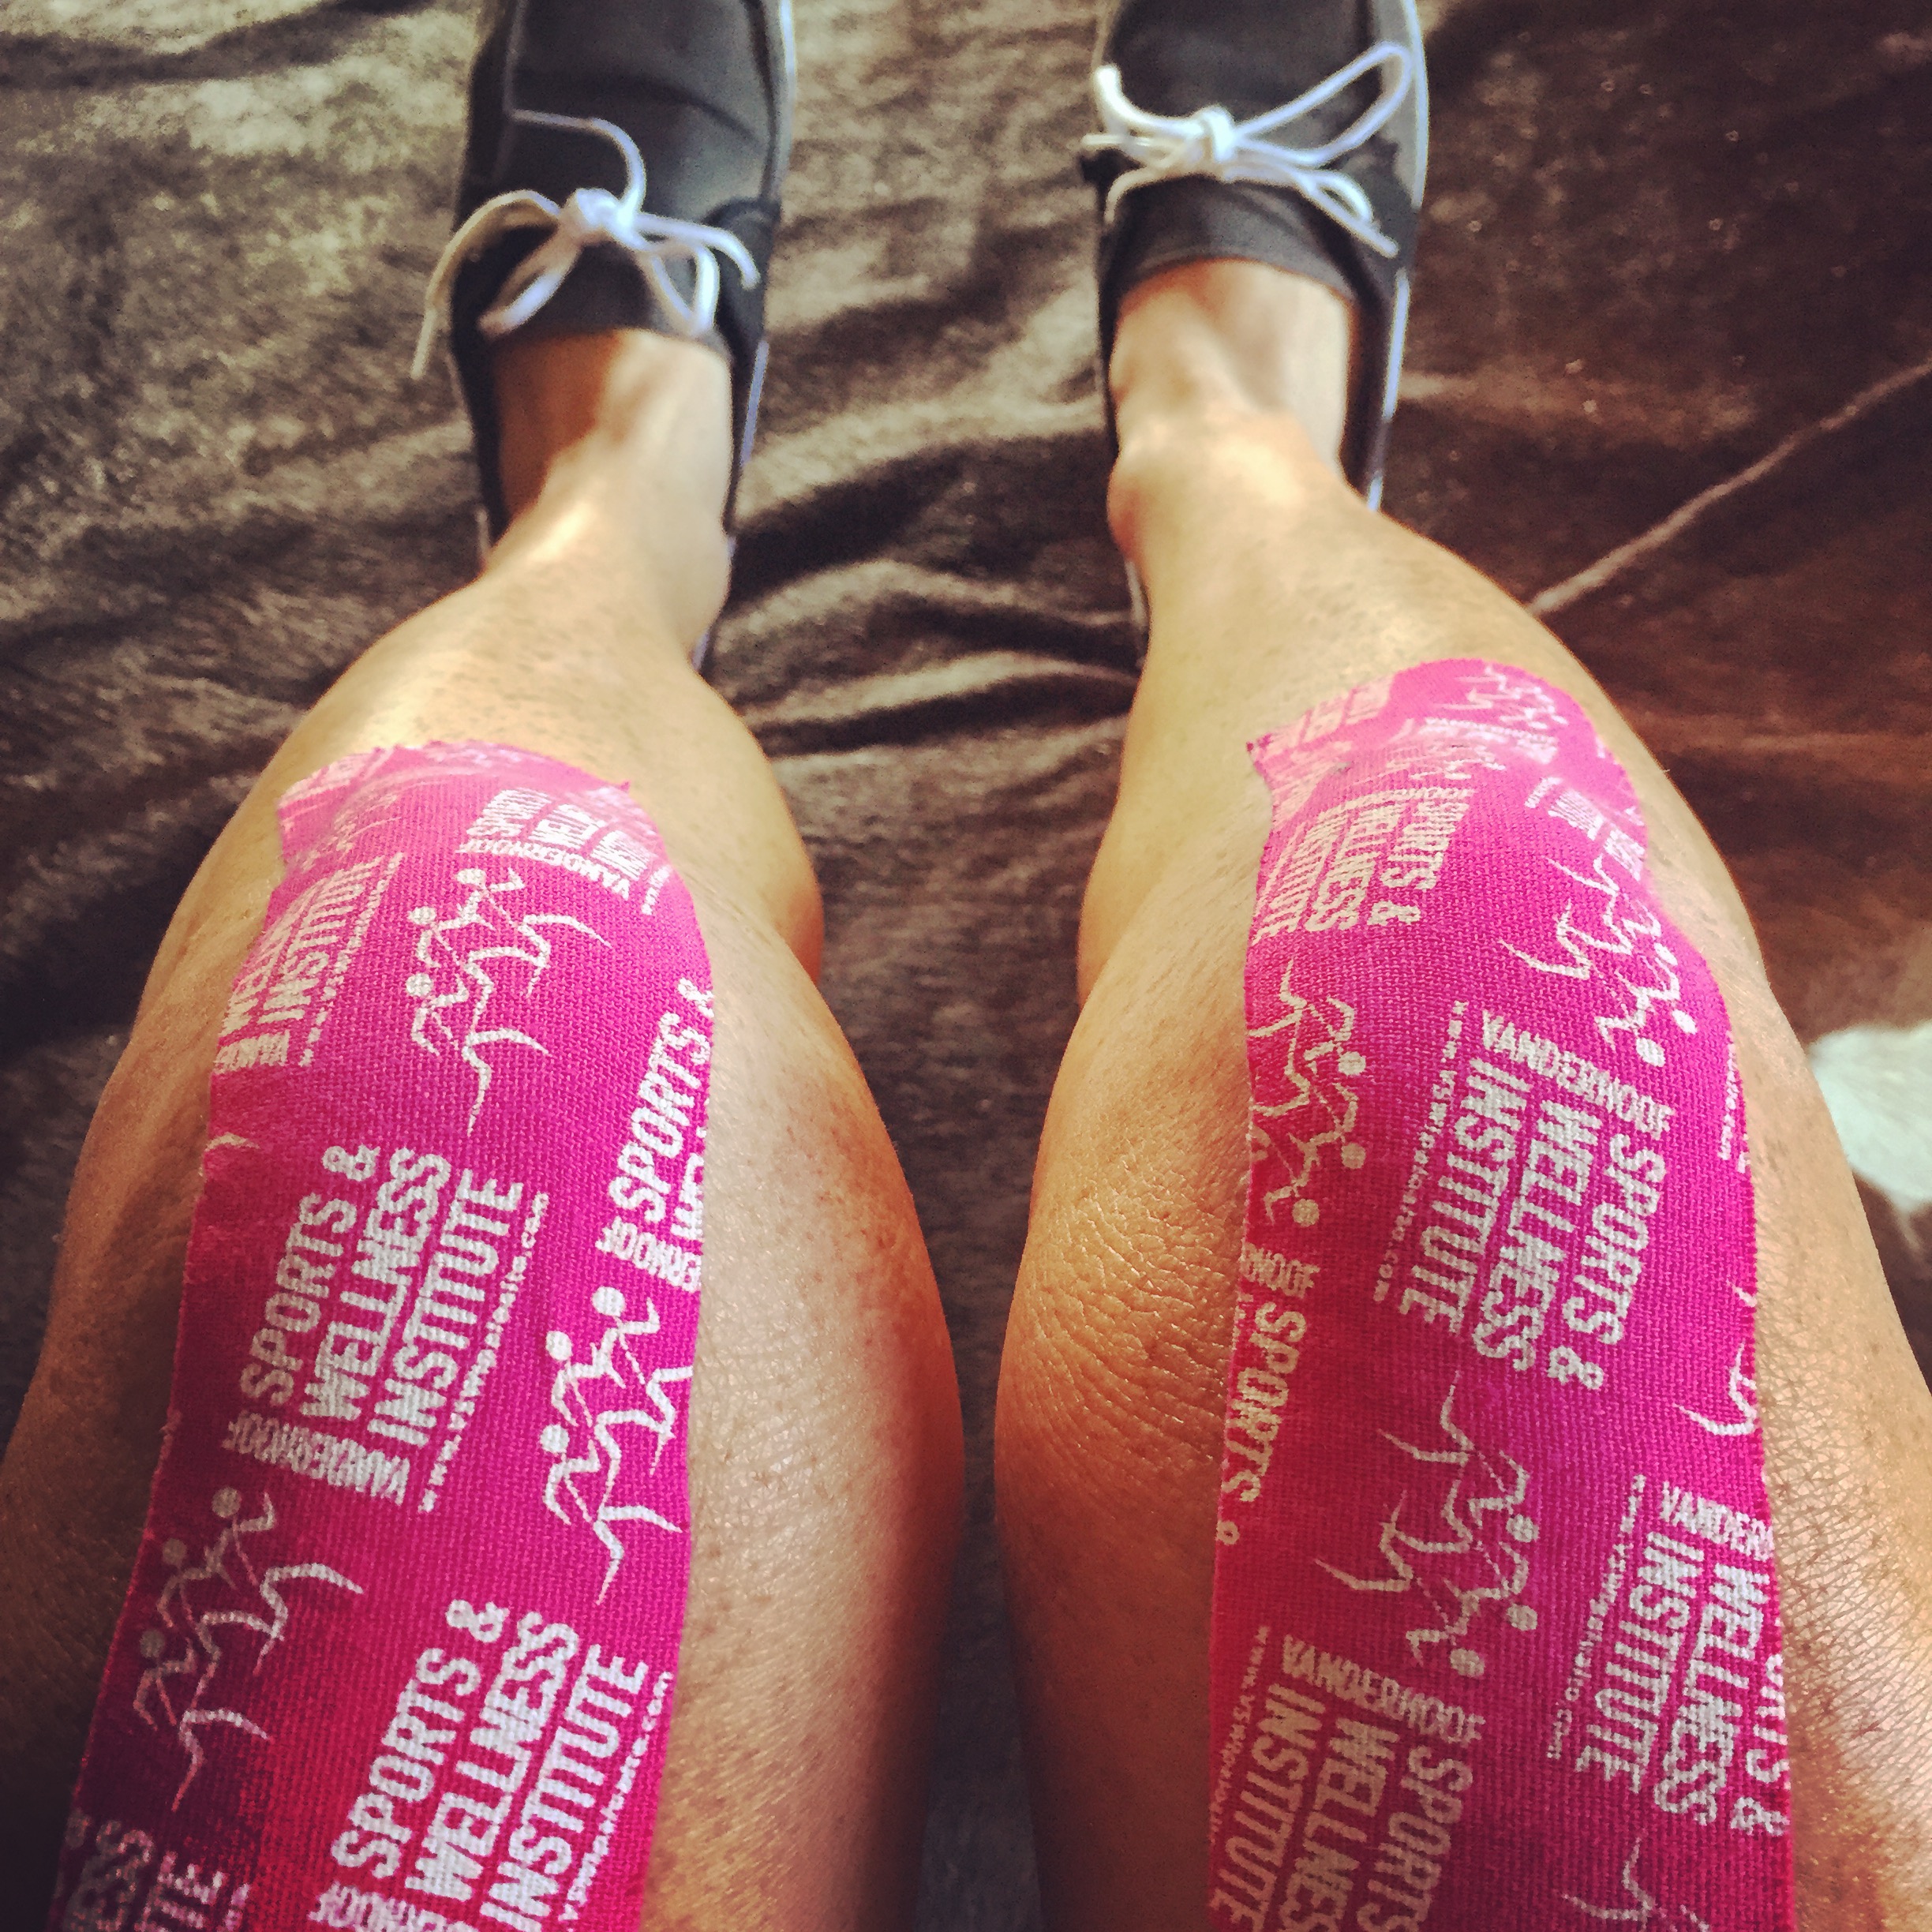
Using kinesiology tape on the calf—when applied properly—can help reduce pain, support the muscle, and keep you moving. Whether you're dealing with a calf strain, tightness, or just some post-workout stiffness, KT tape for the calf is a simple, low-effort way to support your recovery.
How to Use KT Tape for Calf Strain and Pain Relief
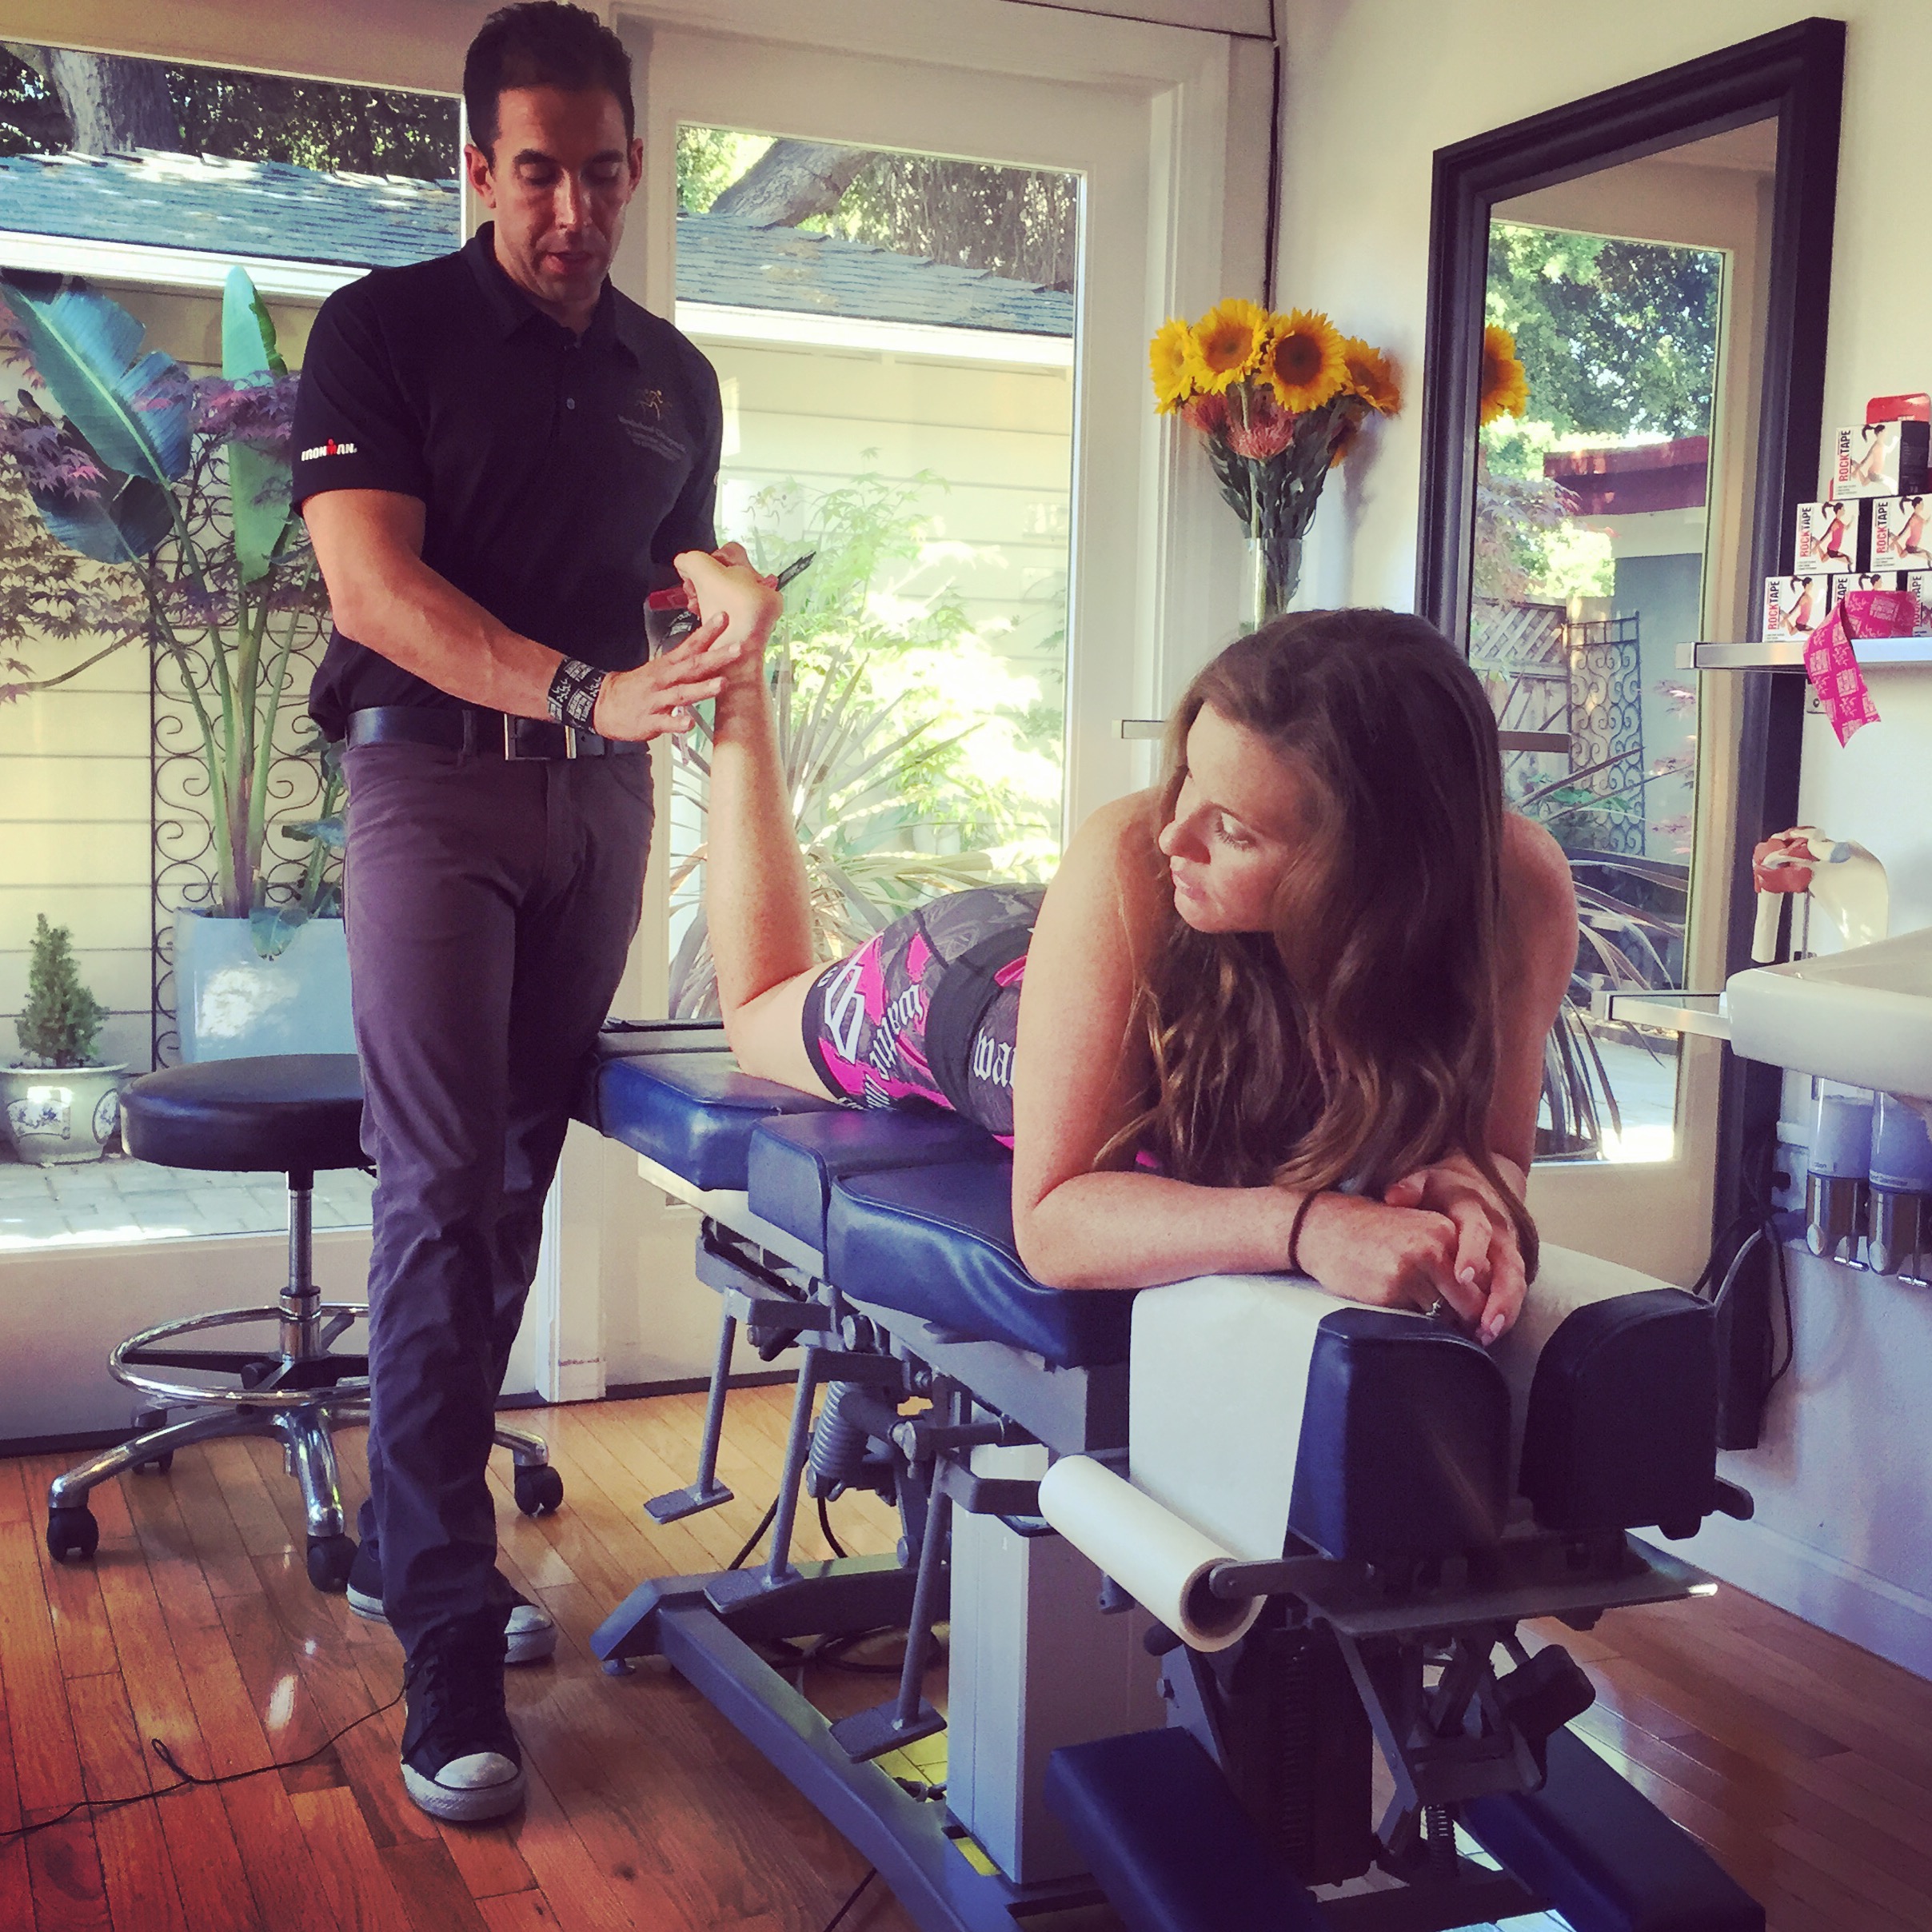
In the video below, Dr. Aaron shows you exactly how to apply KT tape step by step, so you can tape your own calf safely and effectively, no confusing instructions, just a clear demo that’s easy to follow.
Common Mistakes to Avoid When Using KT Tape on the Calf
Over-stretching the tape
It’s a common mistake, especially if you’re trying to get “more support.” But pulling the tape too tight can actually cause skin irritation and reduce its ability to move naturally with your body.Taping over irritated or broken skin
KT tape should never be applied to open wounds, rashes, or sunburned areas. It can make irritation worse and won’t stick properly anyway. Always wait until your skin is clean and healed before applying tape.Applying tape to sweaty or unclean skin
Moisture, oils, or leftover lotion can prevent the adhesive from sticking, which means your tape will peel off way too soon. Make sure the skin is dry and clean.Using KT tape for serious injuries without professional advice
KT tape is great for minor strains and soreness—but if you’re dealing with a serious tear, sharp pain, swelling, or bruising, it’s best to get checked by a healthcare provider. Taping isn’t a substitute for proper diagnosis and care.
If you're new to taping, it's a good idea to check out our short overview video first. It'll walk you through the basics and help you make sure you’ve got the right tools before you begin.
Up next: Knee Taping
Last time: Foot Taping