Making the Most of Ironman Race Taper, Part 1

Hi guys, Doris here taking ahold of the blog for a series we’re calling “Making the Most of Ironman Race Taper”, chronicling the lead up to my Ironman race. Hoping you can take some of my learnings to help with your own race!

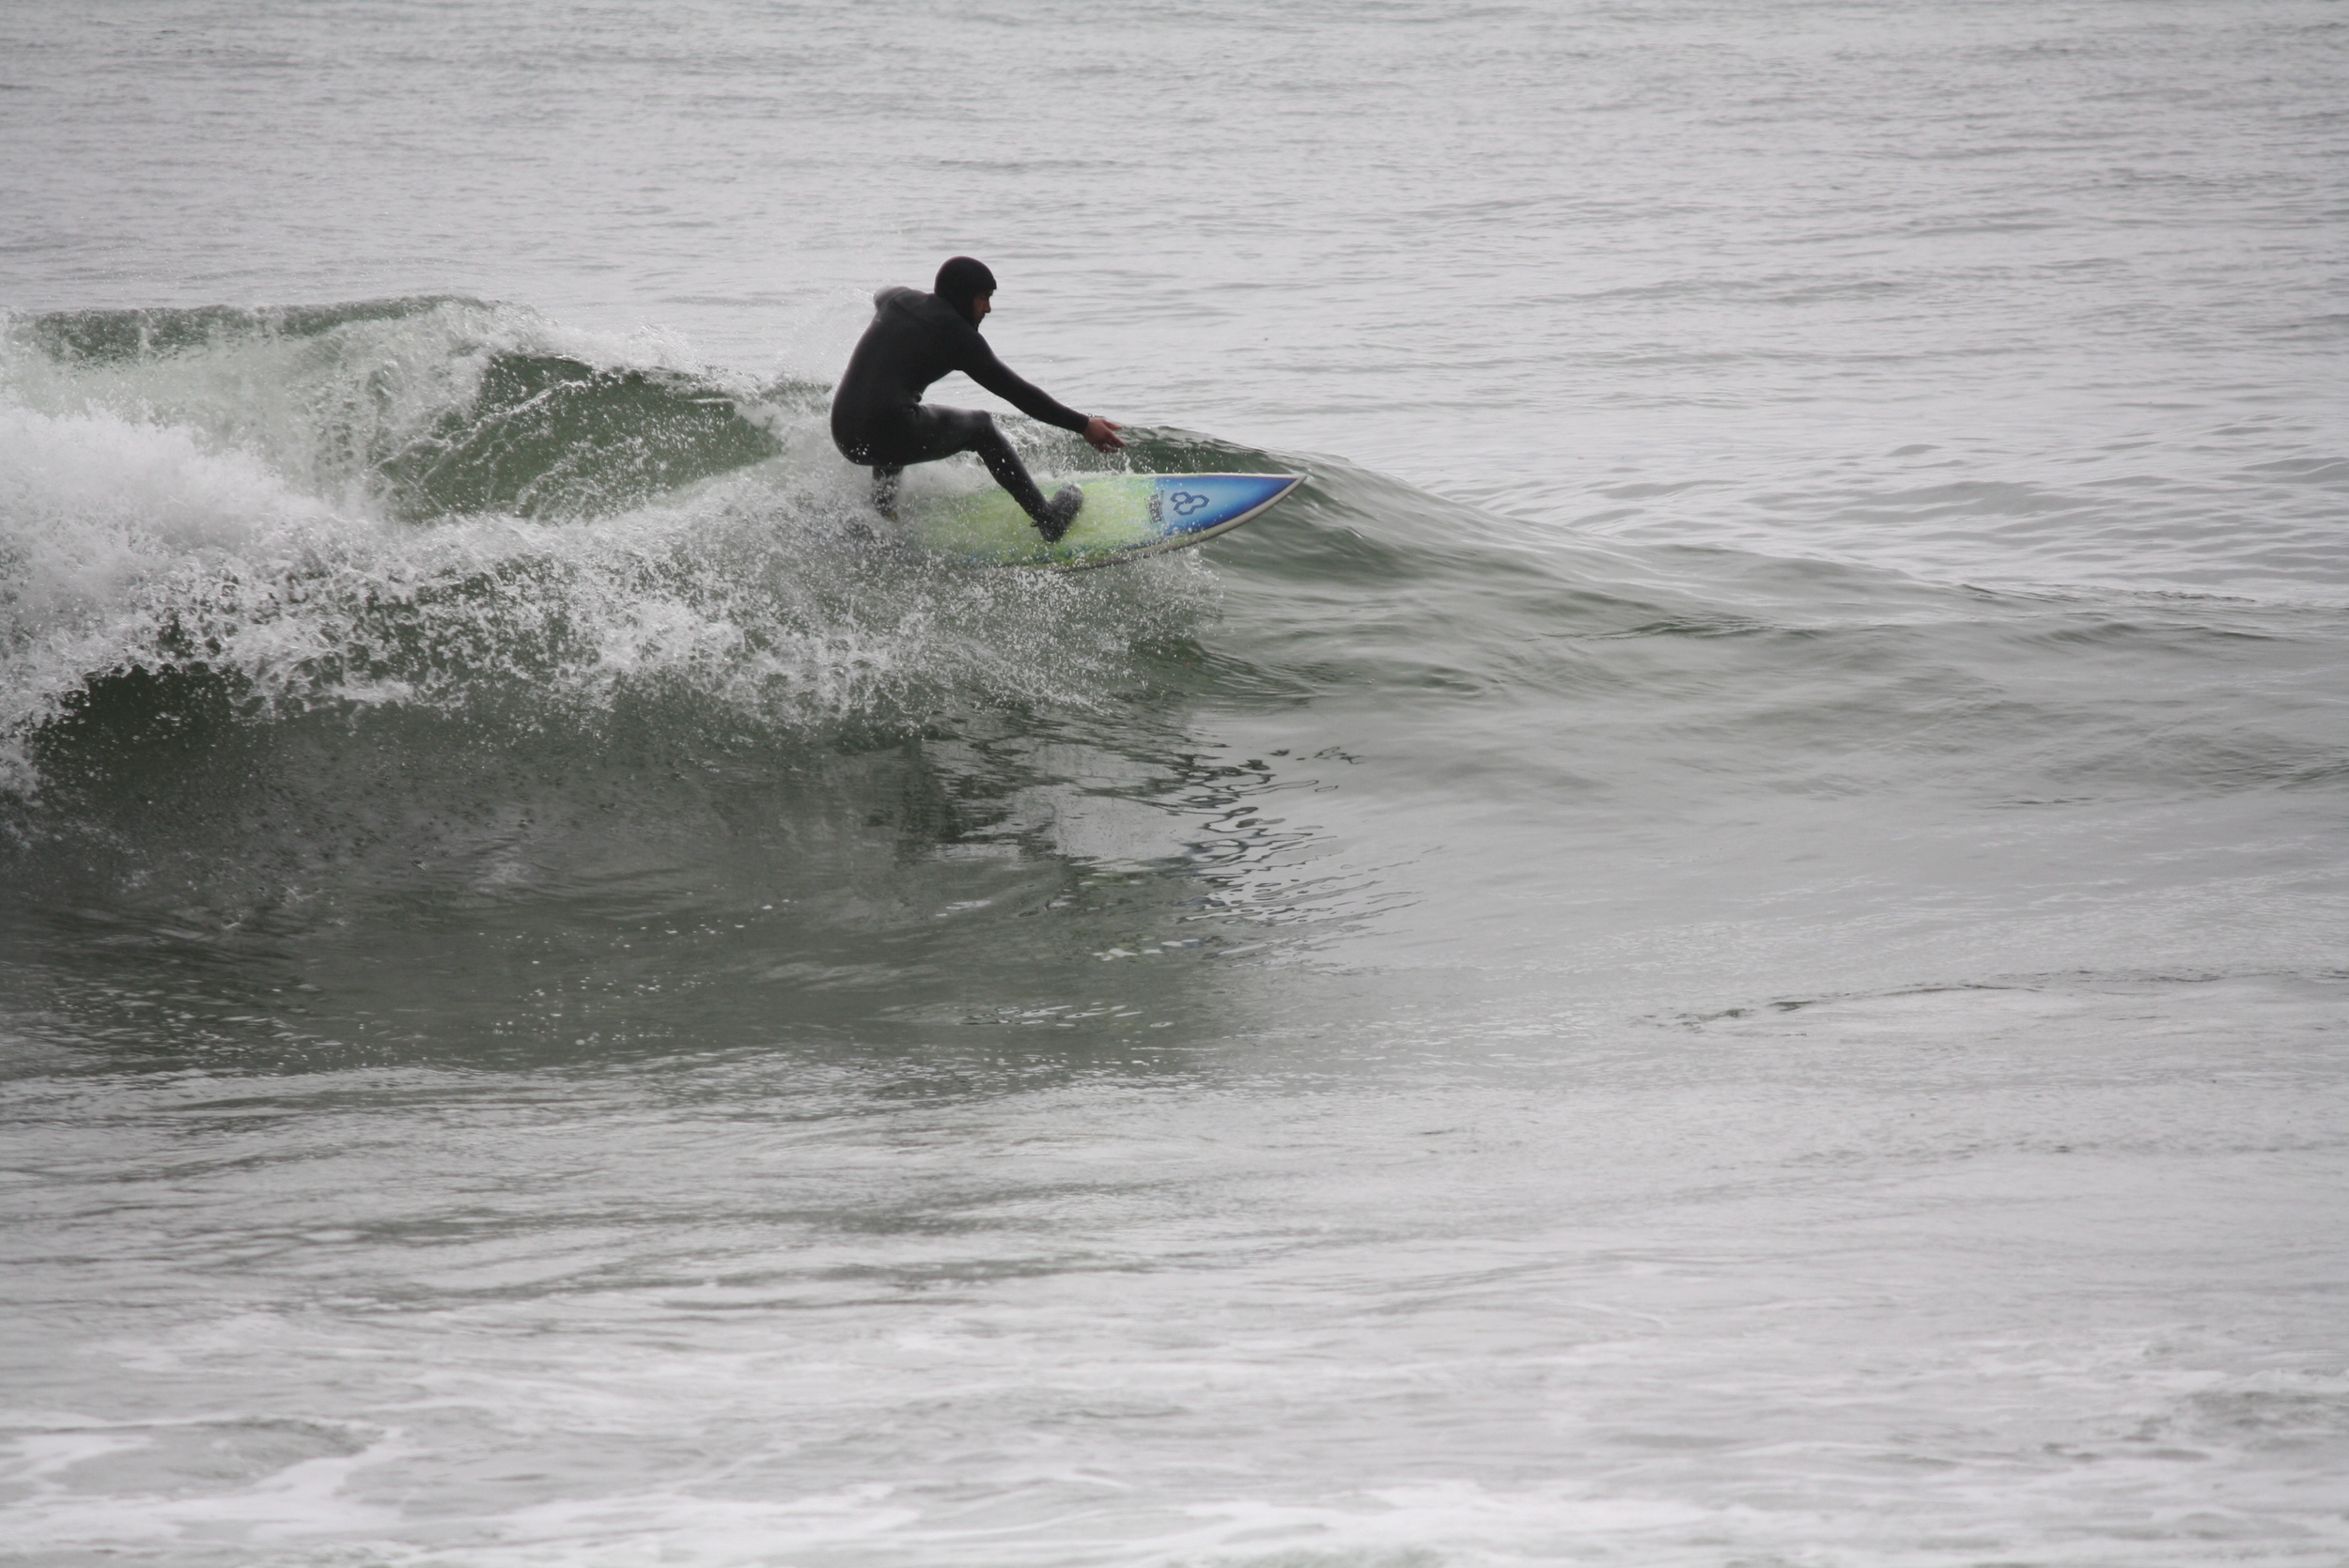
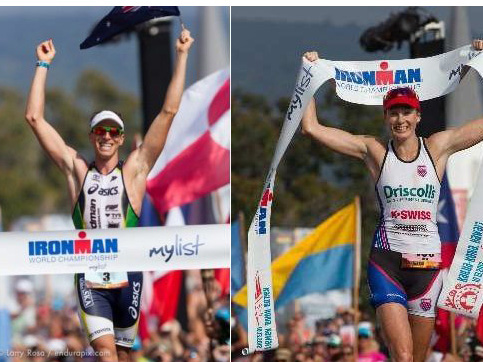
I’m so lucky to have VSWI supporting me as I close in on my biggest race yet. I’ve done at least a dozen 70.3 distances and countless olympic distance triathlons, but there’s one distance that’s eluded me: the full ironman. This distance begins with a 2.4 mile swim, followed by a 112 mile bike, and finishes with 26.2 mile run (full marathon). I’ve always known I’d find myself at the starting line of an ironman, I just didn’t know when. For years my coaches and I held off on embarking on this journey until I was ready. This year, however, we decided it was time. I’m racing Ironman Florida in Panama City Beach on November 7th.

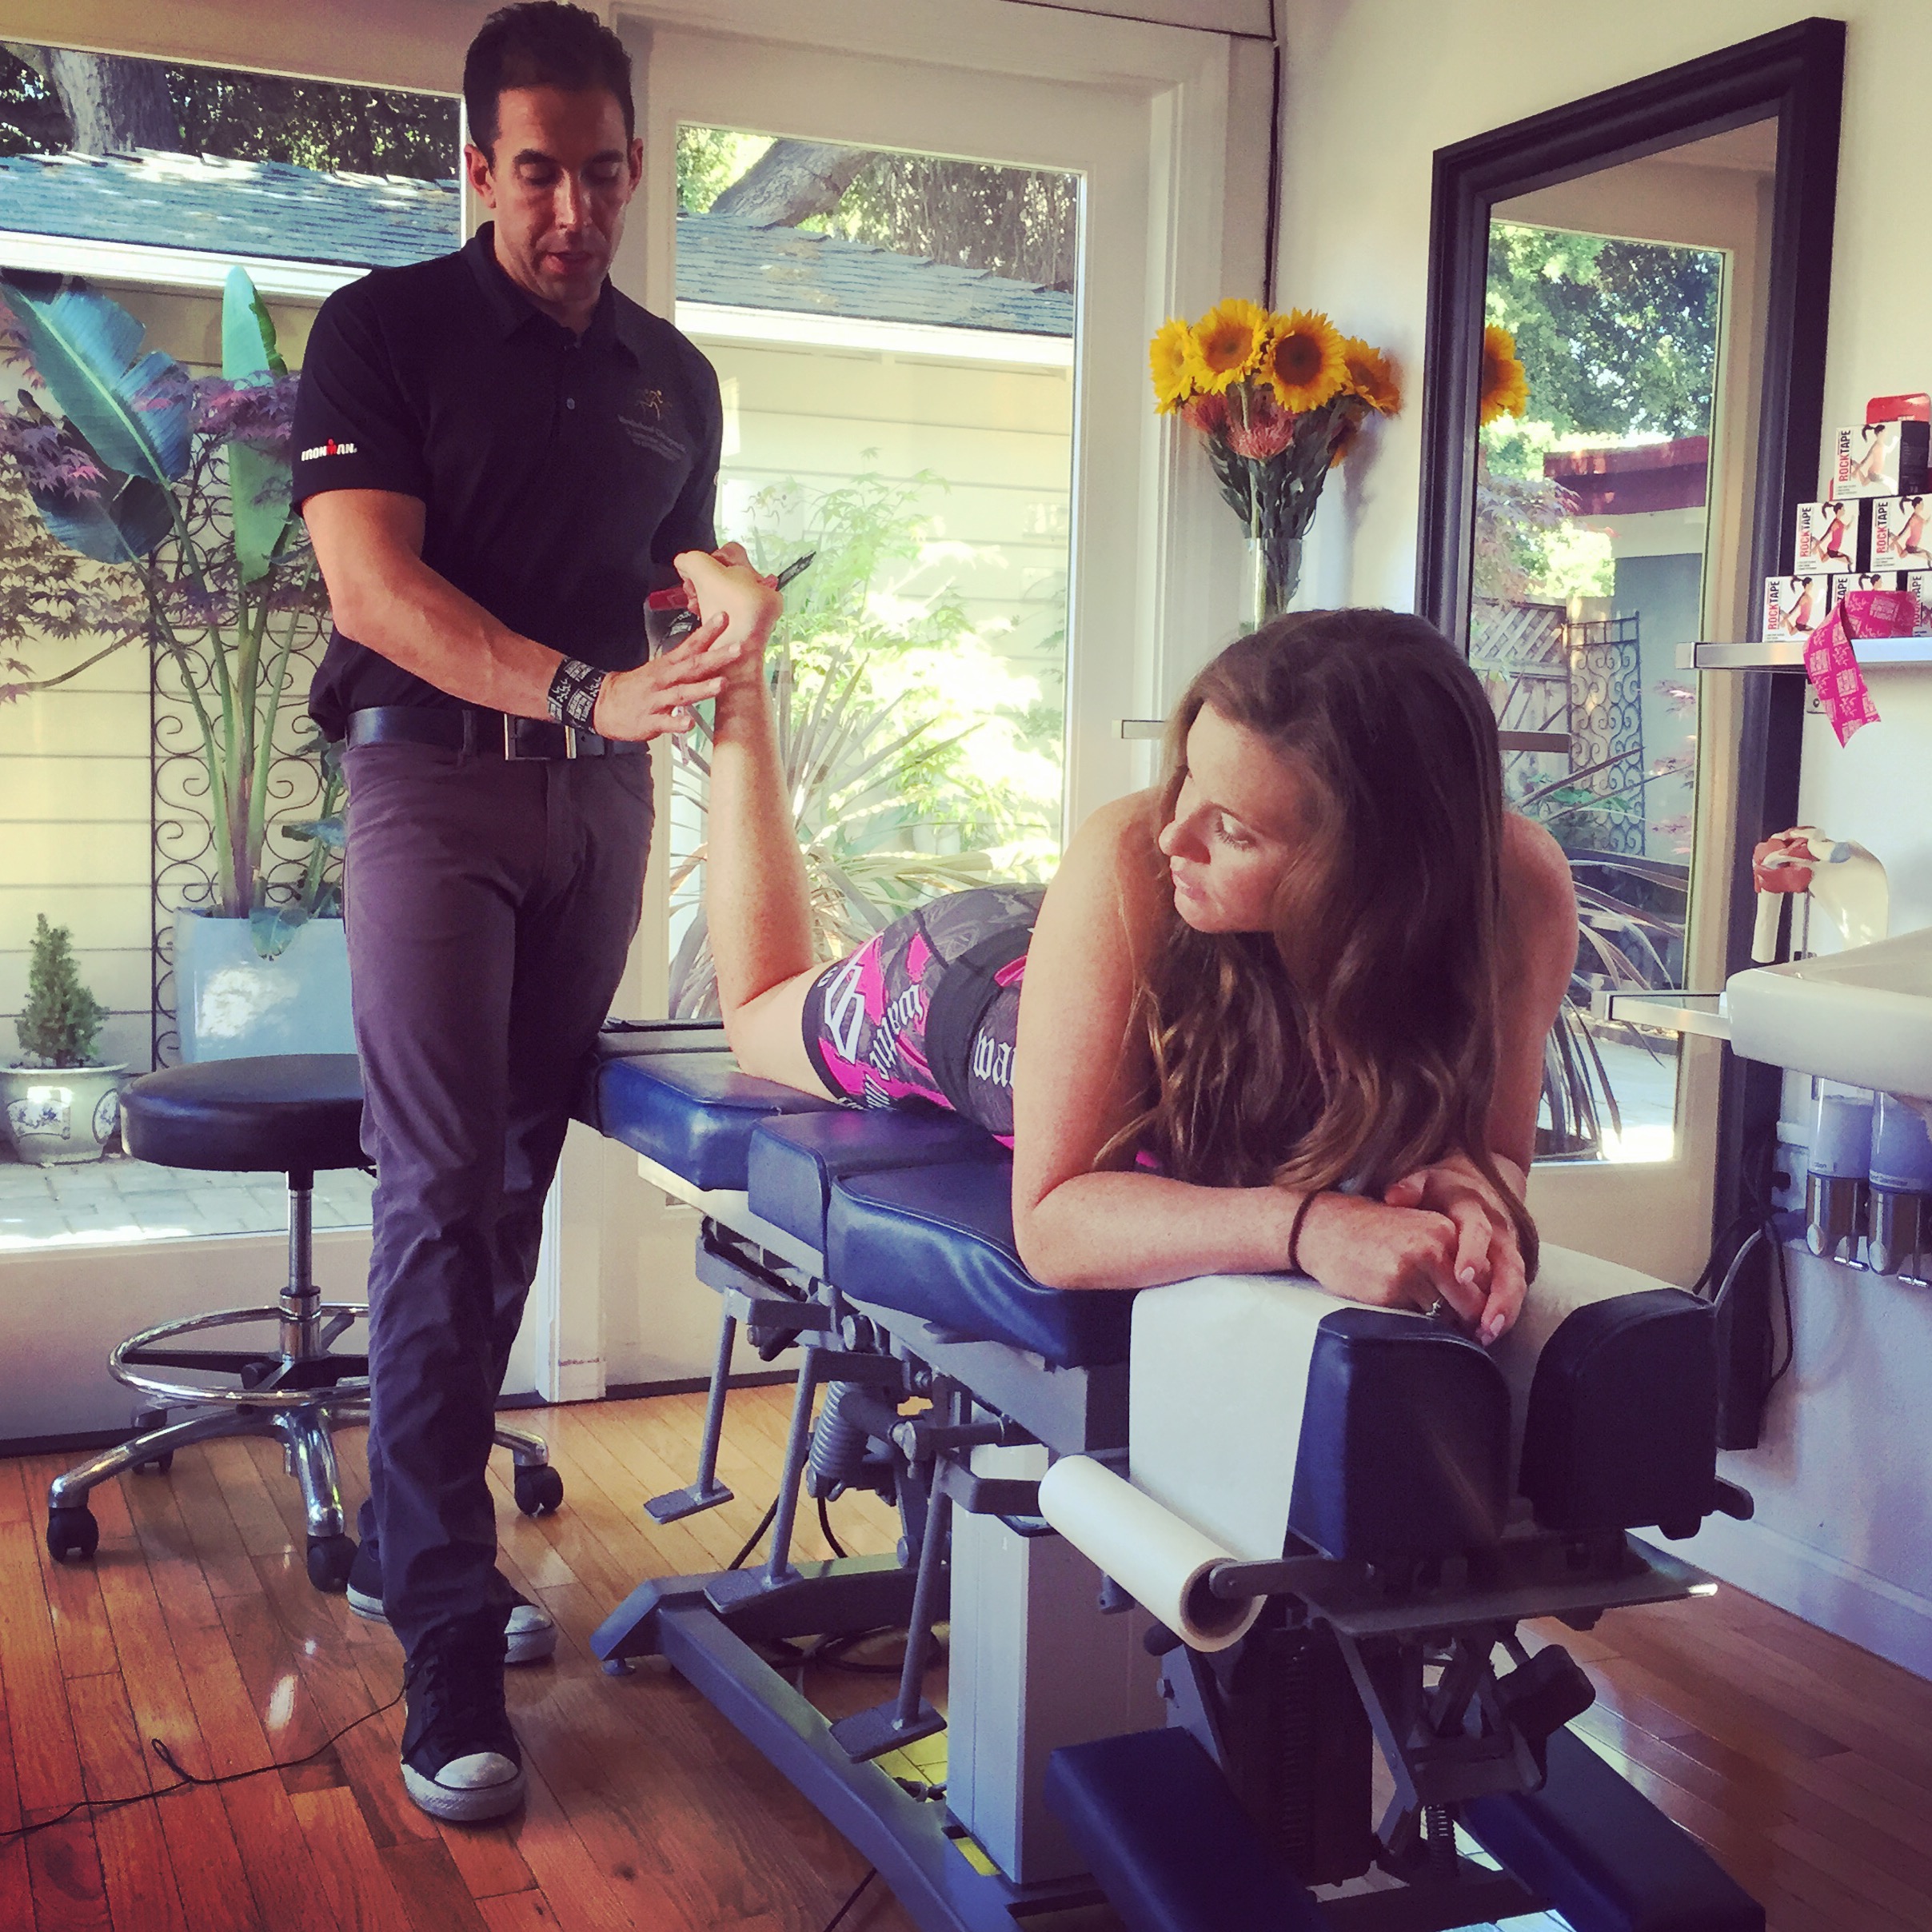
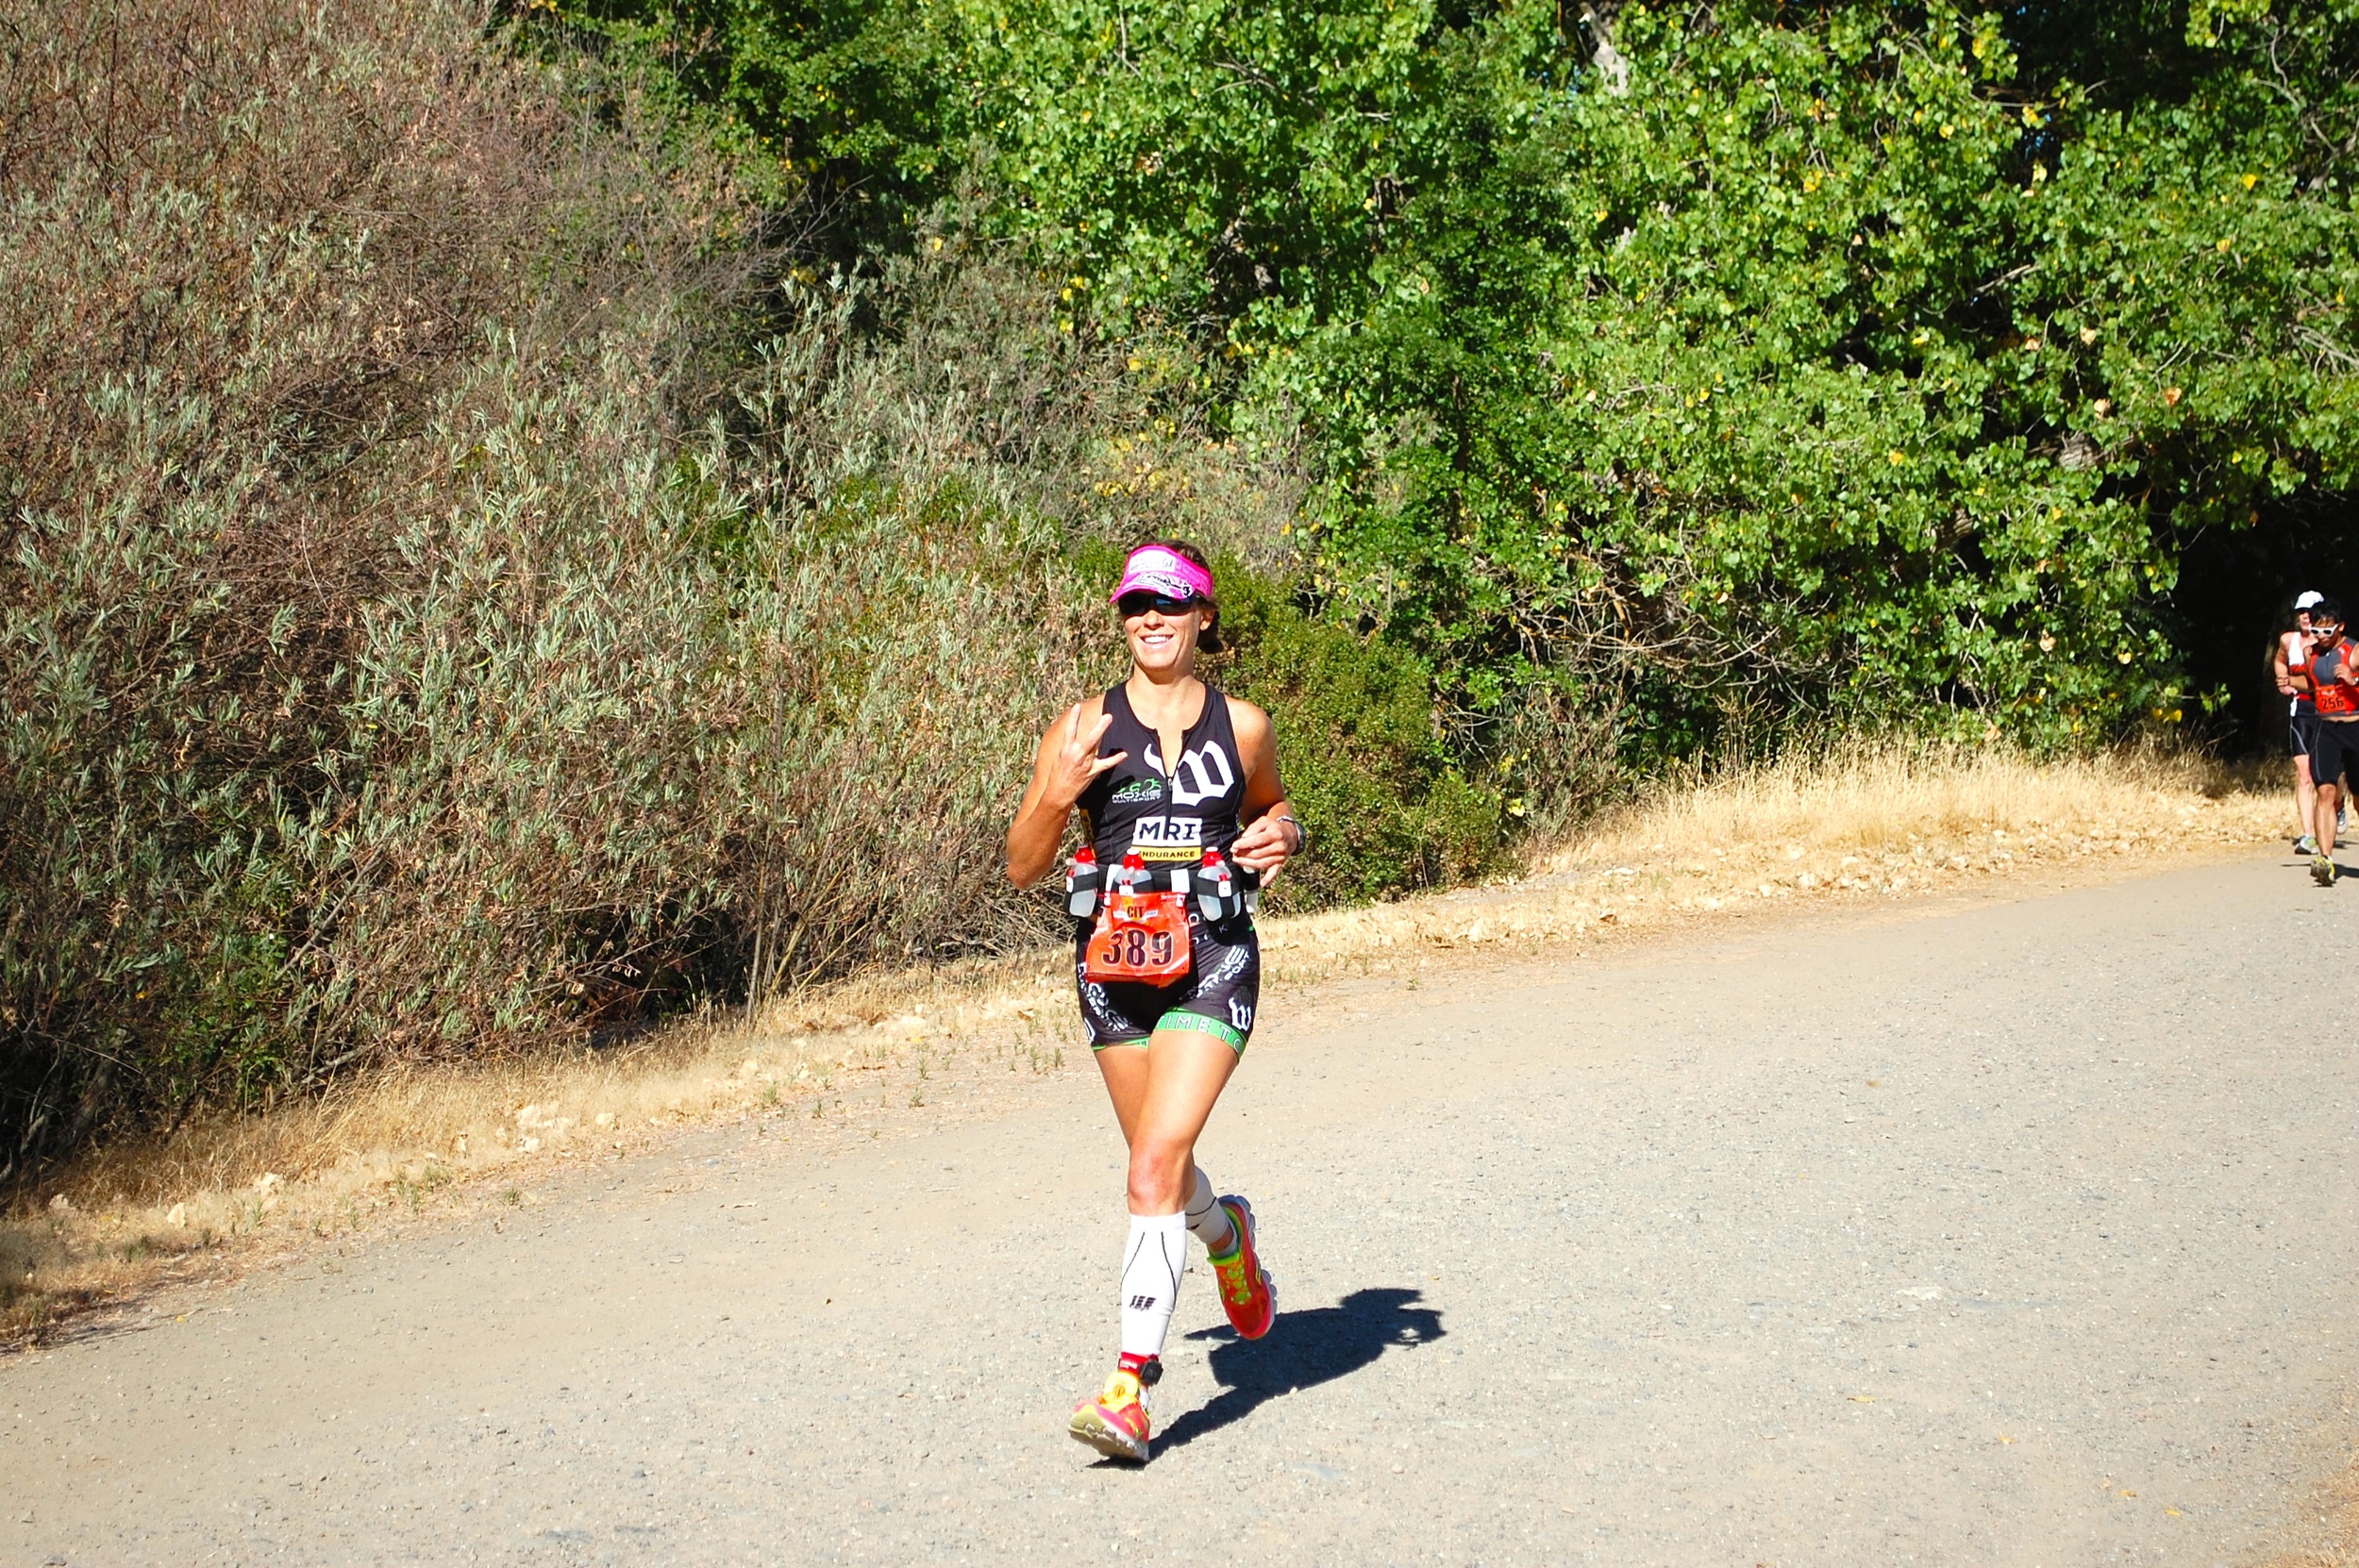
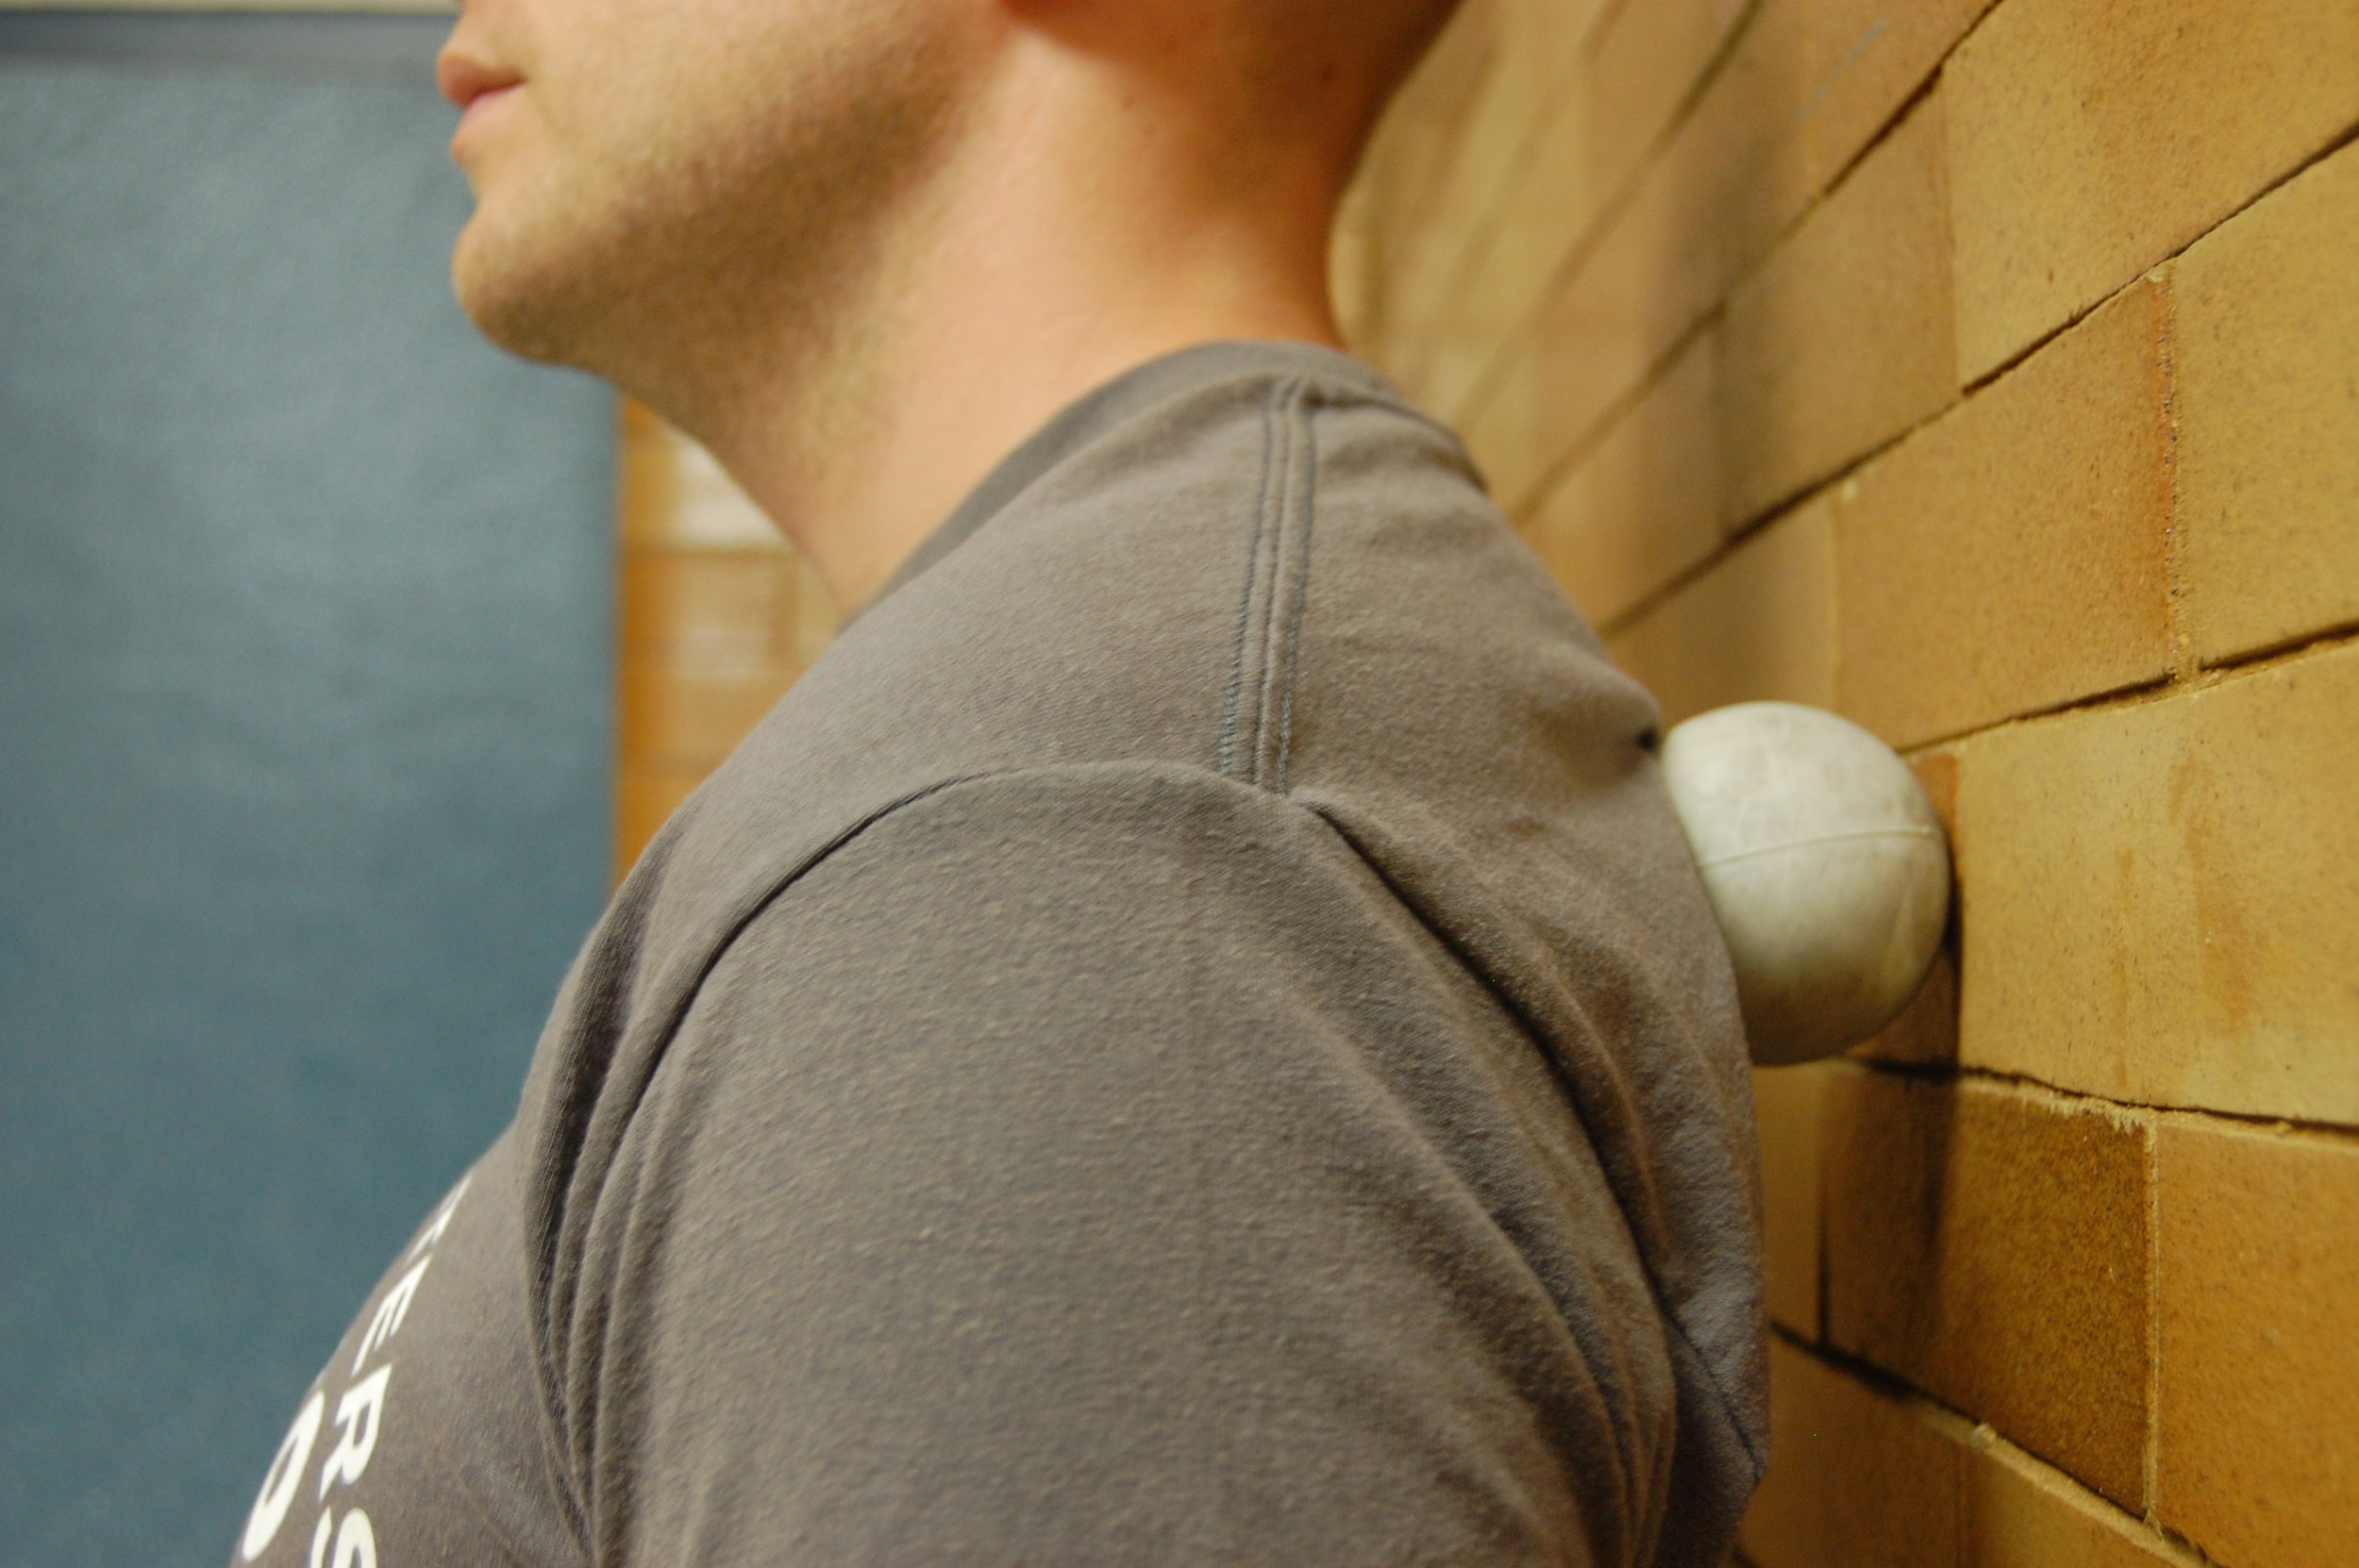
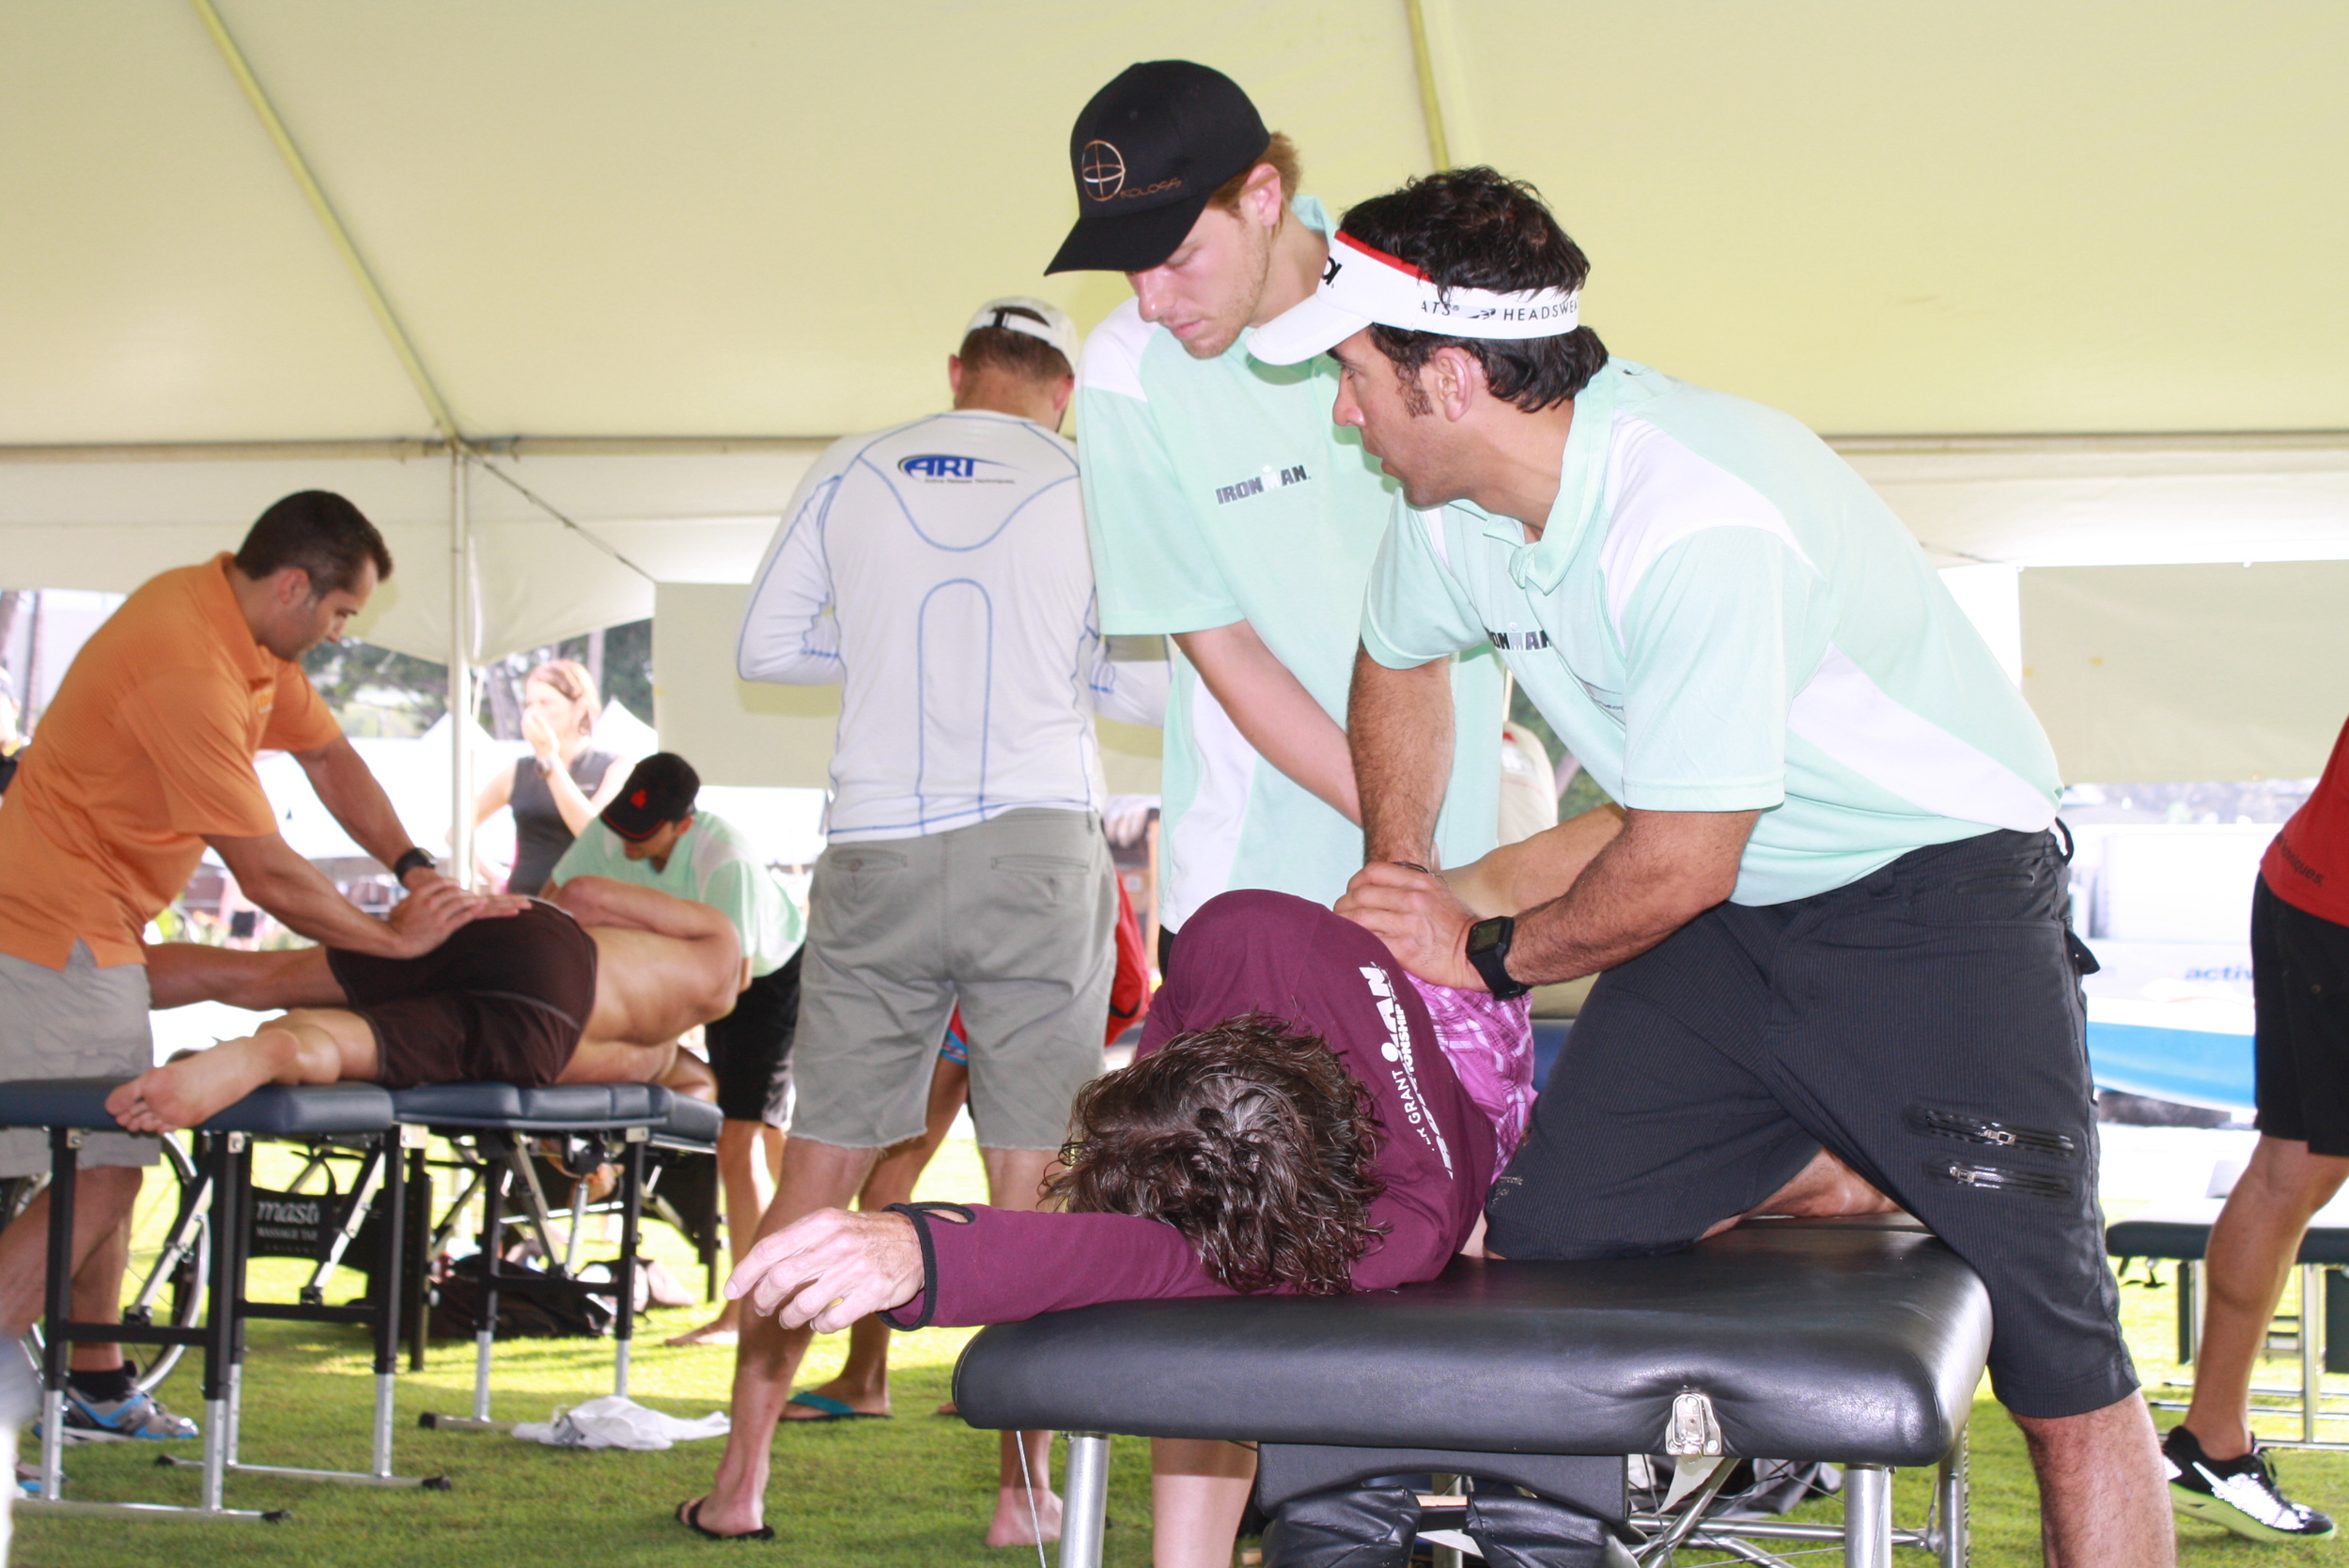
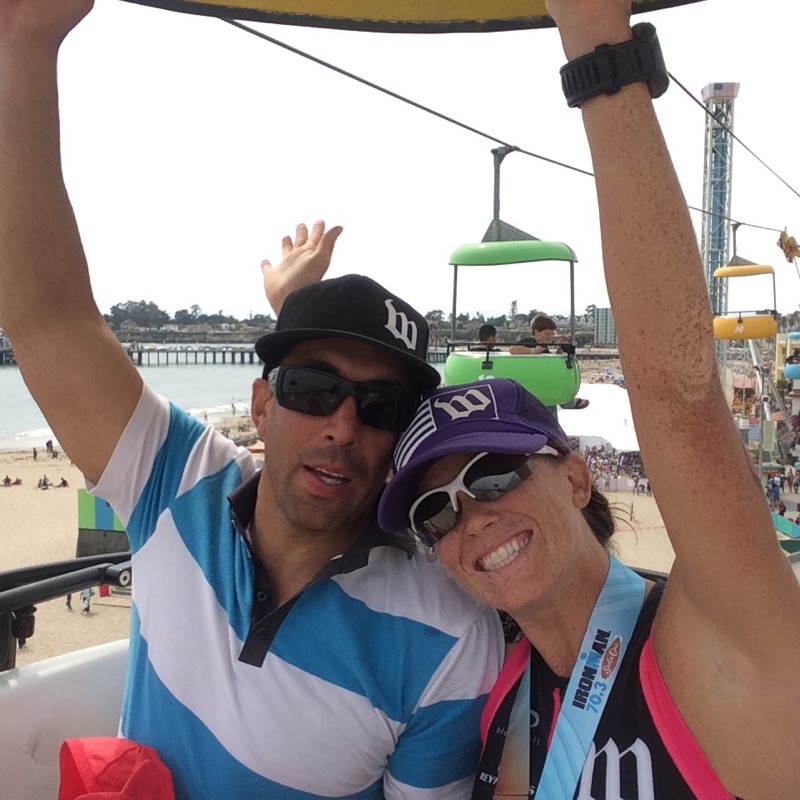
Training for this race began almost a year ago. It’s seemed so far in the future for so long that it’s impossible to believe it’s almost here. I encountered some injuries early in the season which fully derailed my schedule and forced me to take time off and alter my training drastically. Dr. Aaron and team helped work with my injuries (mostly sciatica/piriformis issues) and with our combined efforts, a few months later I was running again. My first triathlon of the year wasn’t until late August where I showed up in Santa Barbara hungry to race. I had a great swim and got only 10 miles into the bike before I crashed. Hard. I attempted to brush myself off and finish what I started, but after my derailleur fell to the ground, my race was over. I broke two ribs, dislocated my shoulder, broke my helmet, and had some nice road rash. Devastated and disappointed, I was facing more set backs. Once again, Dr. Aaron and team saw me first thing Monday morning and did an incredible job diagnosing and coming up with a treatment plan for me. My range of motion in my shoulder was sub par and quite scary. My brain told my arm to move up and despite my best efforts, something was not firing or receiving the signal and my arm remained motionless. Paul performed ART, Daniel massaged and worked the heck out of it, and Dr. Aaron did his multitude of strategies and treatments to get the best results possible. I had less than 3 weeks to prepare for my next race: Santa Cruz 70.3. All year I had looked forward to this one. I wanted it to be my best performance and really shine. 3 weeks of very limited training — I was able to bike indoors on the trainer after the first week and began running towards the end of the second week (as long as my ribs were well taped). I did one short swim the final week leading up to the race and I left that workout unsure if I’d be able to complete the swim portion of the race. My coach worked with me on recalibrating my expectations and developed my new race plan. I showed up to the race unsure and nervous. I ended up having a race that I’d always dreamt of. It was nowhere near a PR or anywhere close to the times I had originally hoped for, but I felt strong and capable the whole way and had such a fun time on the course. The release of expectations and goals let my mind relax and take everything in. I raced at Ironman paces (rather than half ironman paces) and this left me with plenty in the tank to crank on the run. I was given the “ok” to push if I felt good at mile 9 and push I did. I raced hard and finished happy. It was just what I needed heading into IMFL. 

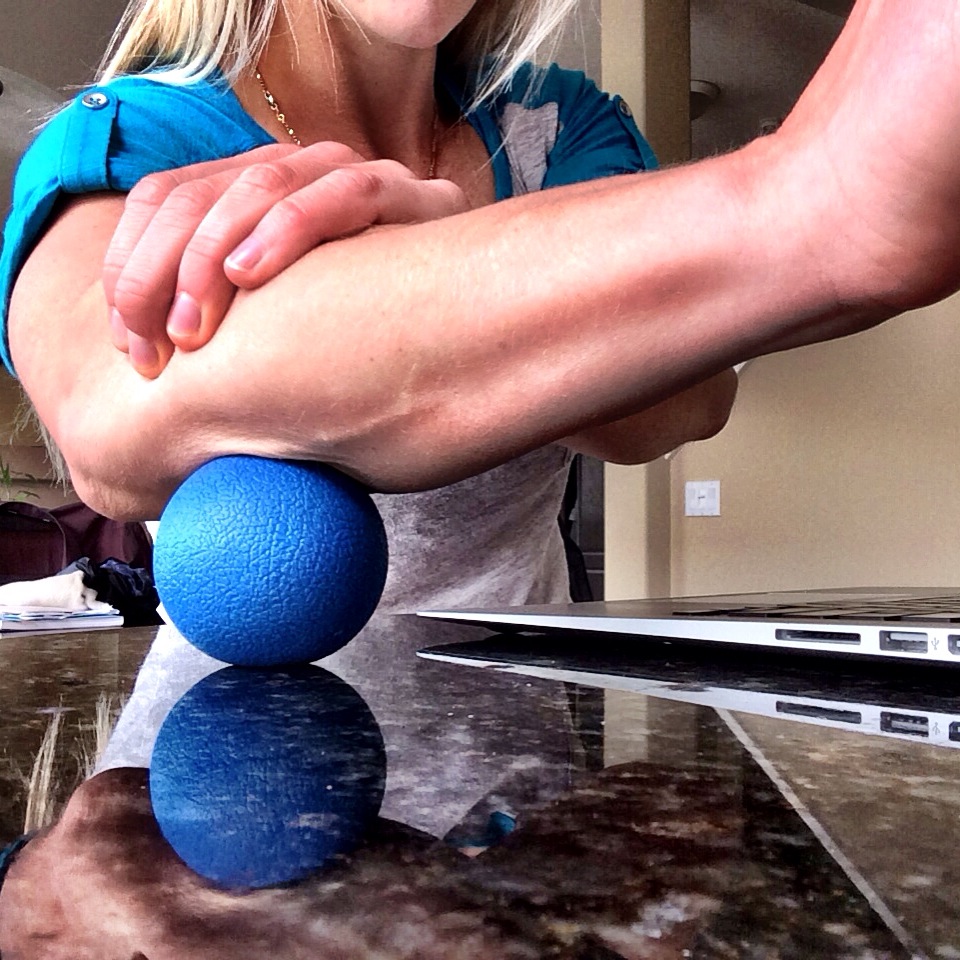
Last week marked my 3 weeks out and Dr. Aaron helped me devise a plan of attack for this last push. He went over my body and found my key areas of concern: my hips/glutes/low back and my right shoulder. After some percussor and ART work, he gave me my homework. I was to do 20 mins per day of stretching — down dogs, yoga band hip stretches, and floor angels with foam roller. I was to also continue my plank routine (5+ mins per day). He also gave me a vitamin regimen: 2 Phytogenics multis + 2 Fish oils in the morning, 2 Phytogenics multis + 2 Fish oils in the evening, and 1 Herbalife Repair capsule before bed. 

Each week we’ll reassess and make changes to my plan, all in hopes to get me to that starting line as fresh, healthy and ready as possible...

Kinesio Taping: How to Tape the Knee

Up next in our kinesio tape video series is the knee. 

Knee pain is a common complaint that affects people of all ages. The pain can stem from a variety of injuries such as runner’s knee or patella tendonitis, jumper’s knee, patella tracking, arthritis, meniscus tears, plica, patellofemoral pain, and general instability.

These injuries can arise from an infinite number of causes. Muscle imbalances, poor running form, misaligned hips or poor posture, poor nutrition, overtraining, compensation for another injury, hyperextension, arthritis, and blunt trauma to ligaments are just a few of the most common causes of knee pain. Common effective treatments among all of these conditions include increasing circulation, providing support, reducing pressure, and maintaining range of motion.

Kinesio tape serves all of these purposes without the downsides of bracing or wrapping. Common injuries can all be best addressed by using this taping application.

With this technique you will get support, pain relief, and normal body mechanics without restricting motion or circulation like other treatments.

If you missed our brief overview of taping, we recommend watching it first in order to grasp the basics and make sure you have the right tools.

We've got awesome pink or black VSWI x Rocktape tape here at the office for $20 a roll, so book an appointment or stop by and pick up a roll and we'd be happy to answer any questions you may have. 

Up next: Hamstring Taping
Last time: Calf Taping

KT Tape for Calf Pain: Step-by-Step Taping Guide for Strains & Tightness

Updated on April 3, 2025

Understanding Calf Pain

If you've ever had that tight, nagging feeling in your calf after a run or workout, you're definitely not alone. Calf pain is one of the most common issues people deal with especially if your routine includes running, jumping, or sudden bursts of movement.

Your calf is made up of three main muscles: the two gastrocnemius muscles (medial and lateral) and the soleus. All of them attach down into the Achilles tendon, which means when your calf's under too much stress like during a sprint or a heavy landing it’s easy to end up with a calf strain or general soreness.

One tool that can help? KT tape.

Using kinesiology tape on the calf—when applied properly—can help reduce pain, support the muscle, and keep you moving. Whether you're dealing with a calf strain, tightness, or just some post-workout stiffness, KT tape for the calf is a simple, low-effort way to support your recovery.

How to Use KT Tape for Calf Strain and Pain Relief

In the video below, Dr. Aaron shows you exactly how to apply KT tape step by step, so you can tape your own calf safely and effectively, no confusing instructions, just a clear demo that’s easy to follow.

Common Mistakes to Avoid When Using KT Tape on the Calf

  • Over-stretching the tape
    It’s a common mistake, especially if you’re trying to get “more support.” But pulling the tape too tight can actually cause skin irritation and reduce its ability to move naturally with your body.

  • Taping over irritated or broken skin
    KT tape should never be applied to open wounds, rashes, or sunburned areas. It can make irritation worse and won’t stick properly anyway. Always wait until your skin is clean and healed before applying tape.

  • Applying tape to sweaty or unclean skin
    Moisture, oils, or leftover lotion can prevent the adhesive from sticking, which means your tape will peel off way too soon. Make sure the skin is dry and clean.

  • Using KT tape for serious injuries without professional advice
    KT tape is great for minor strains and soreness—but if you’re dealing with a serious tear, sharp pain, swelling, or bruising, it’s best to get checked by a healthcare provider. Taping isn’t a substitute for proper diagnosis and care.

If you're new to taping, it's a good idea to check out our short overview video first. It'll walk you through the basics and help you make sure you’ve got the right tools before you begin.

Up next: Knee Taping
Last time: Foot Taping

Video Series: Kinesio Taping & How to Tape the Foot

We're excited to launch the first of several how-to videos. While we plan to cover a range of topics, our first series will be focused on the art of kinesio taping. We are huge fans of Rocktape, however any kinesio tape will work. It's important that you truly understand how to apply the tape correctly as to not cause complications. Once you grasp the basics, it's just a matter of applying them in the right capacity.

We're gonna start at the bottom of the body and work our way up. Up first, Dr. Aaron demonstrates how to properly tape a foot for plantar fasciitis, dropped arches, achilles sprains strains, heel spurs, or any foot disability. 

We've got awesome pink or black VSWI x Rocktape tape here at the office for $20 a roll, so stop by and pick up a roll and we'd be happy to answer any questions you may have. 

Up next: Calf Taping

Please feel free to comment below and let us know if there's any topic you'd like us to cover in our videos.

Importance of a Strong Core & our Plank Routine

Many of us equate core strength with a flat tummy or six-pack abs. While those may be motivating goals, there are so many more benefits that come from improving core strength than simply how your midsection looks -- including improved posture, better balance, reduced back pain and easier breathing. 

So, where is your core, exactly? If you pointed to your belly button, you’re partially right. Many people think the core consists only of the abdominals, but the core also includes your pelvic muscles, mid and lower back muscles, and even your hip muscles. All of these muscles work together to support your spine and skull.

We created a plank routine and we strive to do it every morning at the gym. We do between 6-9 minutes continuously, though you can always start with 1-2 minutes and work your way up. We prefer to do our planks on the Power Plate which creates a bit more instability and therefore we work a little harder. 

If you're an athlete of any kind, a strong core can only enhance your ability in your sport of choice. Dr. Aaron uses his strong core while rippin' on those gnarly waves while Doris employs her core while training for triathlons (swimming/biking/running). 

Let us know if you try our routine. We'd love to hear your feedback/results!

Yours in health,
The Team at VSWI

We now offer professional bike fitting!

Triathletes, roadies, newbies and everyone between: we have some exciting news to share!! We're partnering with Fit Endurance Coaching to offer premiere bike fitting right here at VSWI.

Cycling can be a great activity for people to participate in through out their lifetime. It is great for your cardiovascular system and it's a non-impact activity-- meaning it puts very little stress on bones, joints, and ligaments. As long as your bicycle is properly fit to your specific body, there is no reason you can’t enjoy pain free cycling for a life time.

When people arrive complaining about pain with cycling, a red flag immediately goes up in my mind.  With cycling, pain most likely means improper bike fit. To the lay person, a bike may not seem very complicated to set up. To an expert, however, this is not the case.

There are an infinite number of adjustments that can me made on a bicycle. Knee pain could mean a seat is to high or too low, too far forward or two far backward. Pain with the saddle could mean the seat is tilted too far up or too far down. People complaining of neck or shoulder pain may be in need of adjustment of the height or reach of the handlebars or aero bars. Those who ride with cycling specific shoes could need their cleats placed properly on their shoes. The problems don’t stop there. Bike fit works to both treat and prevent injuries and if your bike is fit properly, you likely won’t develop an injury in the first place.

A proper bike fit not only relieves those nagging ailments, but also allows you to reach your potential by accessing the correct muscles, making you more efficient, and helping harness your power. Bike fit can have a big effect on aerodynamics and speed -- for those training for a race, we all know this is paramount!

Fit Endurance Coaching uses industry leading protocols along with your personal feedback to generate the best, most efficient position for you. Each fit is individual and relies heavily on rider interaction and communication to provide you with a personalized and professional fit service. Unlike many "fitters", we start at the cleat and move up, ensuring every last detail is accounted for. 

Whether you're training for an event or simply going out for a leisurely ride, do yourself a favor and let us help dial in your fit before you hit the road. Not only will you enjoy the ride more, you’ll also avoid injuries and increase performance. Win, win, win.

Contact us for more information or to book your fit!

The Best Tool For Self Massage

Muscle pain straight up sucks. Whether that pain is from muscle soreness or an injury, stiff muscles and dull pain can slow you down. 

Here at VSWI, we specialize in relieving pain using manual therapies. Our hand-on technique often includes Myofascial release, which involves putting gentle pressure on specific body locations to restore range of motion and ease pain. 

In an ideal world, we'd all see Daniel multiple times a week to help ease the soreness, stress, and tension that we experience on a daily basis. Unfortunately, this isn't realistic for most of us, but all is not lost. Enter self-massage, a highly effective alternative and/or supplement. 

While bigger tools, like the foam roller, are used to relax and relieve larger body areas, today we want to focus on something perfect for targeting those harder-to-reach areas: a Lacrosse Ball. It's also a cheap, portable tool you can keep with you on the go. We recommend keeping one in your car, purse, carryon, etc.

We often give a Lacrosse ball to our patients and prescribe at-home exercises to help speed recovery and prevent future pain. While we personalize and go over each set of exercises/stretches with each patient, we've compiled five different ways you can use a lacrosse ball for more effective myofascial release.

Perform each of the following exercises for up to 60 seconds. They can be performed before or after your workout, as well as any time throughout the day.

5 Ways to use the Lacrosse Ball

1. Feet. 

Place the lacrosse ball under the arch of your bare foot and begin slowly rolling over it. The ball will provide instant relief from tight arches and also help those who suffer from plantar fasciitis. We recommend keeping a ball in a ziplock bag in the freezer for an after-work cold foot massage or storing one in your carry-on bag for your next flight.

2. Glutes. 

In a standing position, rest the lacrosse ball between your glute and a wall with the ball directly over the area you are experiencing pain. Press your glute into the wall and begin performing circular motions in and around the area. Once the pain subsides, stop moving and increase pressure into the wall with the ball resting directly over the sore spot. Hold this position for up to 30 seconds.

lacrosse4.jpg

3. Hips. 

Lie on the side where you are experiencing tightness with knees bent 90 degrees and stacked on top of each other. Rest hands on the floor in front of your body. Raise your hip, place the ball directly under the stressed area, and slowly lower your weight back onto the ball. Begin moving your hips around to massage and release tension in the area. If the pain is too severe, stand up, place the tight hip closest to the wall, and place the ball over the tight area. Begin moving your hip around to massage the pain away.

4. Shoulders. 

Positioning the ball in this area can be tricky, so place it in an old stocking or sock to give you more control. Stand tall with your back close to the wall. Hold the end of the stocking or sock with one hand and, allowing the ball to rest between you and the wall, position the ball directly over the stressed area. Press your back into the wall. You can rest the ball over the area or perform small circular motions until you start to feel relief. 

5. Forearms. 

Sitting in front of a computer all day can wreak havoc on your forearms. If not properly stretched and strengthened, this can lead to carpal tunnel syndrome. Try these two ways to relieve the tension: Hold the ball in one hand and role it up and down the forearm, or place the ball on a desk or other flat surface and rest your forearm over the ball. Press your forearm into the ball and run it over the ball. I recommend doing this several times throughout your work day to relieve your muscles.

Try these at home then book an appointment for a more personalized plan to help keep your body at its optimum level.

Happy rolling!

Got Text-Neck?

Are smartphones a pain in the neck? According to new research carried out by a US doctor, they are far worse – “text neck” is becoming an epidemic that could lead to permanent damage.

We've been hearing a lot about this issue lately. With the constant rise of technology and gadgets we tend to neglect our bodies and it's no surprise we ignore the damage we might be causing. Huffington Post wrote an article about the force we're placing on our spines while texting, Facebooking, Yelping, etc., on the go. "When you tilt your head forward 60 degrees to look at your phone, you're putting 60 pounds of pressure on your neck..." And, as you bend your head down to look at the phone in your hands, the pressure on your neck gets stronger and stronger. We don't expect you to toss out your iPhones, iPads, Androids, and the like, but we urge you to be mindful of the harm that you might be inflicting.

Here are a few ways you can help prevent neck pain:

1. Use voice recognition while texting or trade your text for an old-school phone call

2. Take regular breaks and change your head positions

3. Checkout the "Text Neck" app for the Android, which offers "immediate real time feedback" about whether your standing in the correct posture, indicated by a green or red light.  There's also an optional vibration or beep reminder, when you lapse into bad habits.  Best of all, according to the doctor, it actually tracks your slouching/standing patterns and offers an average score.  So, you or your doctor can look back at the data and make sure your score doesn't drop below 85% -- the standard.

Perform these simple exercises throughout the day:

1. Sit up or stand up and look straight ahead.

2. Turn your head to the left and look over the left shoulder; hold position for five seconds, then release it. Repeat on the right side.

3. Raise your shoulders up to your ears; hold for five seconds, then release.

4. Circle your shoulders: Roll your shoulders towards the chest a total of 5 times; now, roll shoulders towards the back.

Your best bet for avoiding neck pain is by keeping your spine and posture maximized and healthy. Regular chiropractic care is ideal for this. Come on in and see us, we'd love to help. You can book online, but remember to look up afterwards!

Yours in health, 
The team at VSWI

Stretches and Exercises while Traveling

Here at VSWI we're all excited for the imminent turkey, pumpkin pies, and time with family and friends. With it, however, we generally find ourselves dealing with long travel days -- either involving being cooped up in a car or stuck on an airplane for hours at a time. Before the feast begins you may find yourself tired, sore, tight and in dire need of some bodywork. This year, we urge you to be proactive, so we've put together a few tips we think will help you arrive to the table poised and ready to indulge... 

Before you begin your drive, bring your seat close to the steering wheel in order to minimize how far you have to reach for it. If you are traveling for long periods of time, make sure you make slight, but frequent adjustments in your seat’s position and your body's posture. If you keep your spine in one position for a long period of time, it can cause pain.

Blood Circulation Exercises:

1. Contract your abs by pulling the belly button towards the spine without holding your breath. Hold for two seconds, release and repeat 10 times.

2. Place a pillow or towel between the knees and squeeze. Hold for two seconds, then release slightly. Repeat 15 times.

3. Hold a pillow between hands at chest level (or just press palms together) and squeeze for two seconds, release and repeat 15 reps.

4. Place palms on the ceiling of the car or airplane, shoulder-width apart. Press into the roof for two seconds, then release. Repeat 10 times.

En-route Stretches

(While car is moving or when the “Fasten Seatbelt” sign is lit)

1. Neck Rolls
Sit up tall and place your hands on your knees. Nod your chin down, then roll your head to the right, then back and to the left until you’ve completed a full circle. Do 8 to 10 neck rolls in each direction.

2. Upper Trap Stretch
In your seat, place the back of your right hand on the small of your back. Then, turn your head to the left, and look down.  You will feel a deep stretch on the right side of your neck. Hold for 10 to 15 seconds and then repeat on the other side. Do up to three to five reps on each side.

3. Seated Cat-Cow
Begin in a tall seated position with your hands on your knees. Bring your upper body towards your lap, rounding your back, shoulders, and neck and hold for one to three seconds. Then lift your chest and your neck, arch your back and hold.  Repeat this 8 to 10 times.

4. Quad Pulses
In your seat, hold your mid-thigh so that your thumbs are against your inner leg. Squeeze your legs so that you can feel them press against your hands, hold for three to five seconds and then release. Repeat this 8 to 10 times.

Intermittent Exercises

(Stopped for lunch or fuel or during a layover)

1. Reach your arms above your head toward the sky without lifting your heels. Hold for 20 seconds and release. Repeat as necessary.

2. Take a five minute walk around the area to stretch out the leg muscles and get your blood circulating throughout your body.

3. To stretch your neck, gently bend your head backward so that your eyes are looking upward. Stop when you feel the stretch and hold for 20 seconds. Return to the starting position and repeat five times

4. To relieve and stretch out the shoulders, clasp your hands behind your lower back, keeping an upright posture. Lift your clasped hands out and away from the body and stop when you start to feel a little discomfort. Hold the position for 15 to 30 seconds and then release.

5. Stand up and slowly lift your heels off the floor for a three count, and then slowly lower them back down. Repeat this 10 times.

6. Stand with your feet hip distance apart and place your hands on your hips. Press your hips forward, to the right, then back, and complete a circle. Do 8 to 10 circles in each direction. If there isn’t enough space to do this at your seat, try in when waiting in the bathroom line.

Once you arrive, it’s a good idea to do some light stretches for the hips and the back.

We hope these stretches and exercises help ease your travels and allow you to enjoy your special day in comfort. As always, we'd love to see you once you return.

May you enjoy a bountiful Thanksgiving. We're grateful for you.

Yours in health,
The Team at VSWI

Hey, Triathletes.

In honor of the recent airing of Ironman World Championship on NBC this past weekend, we want to take a minute to remember our time in Kona. Dr. Aaron has worked multiple years at this premier event and had the opportunity to work with world-class, top athletes from across the world. Arriving ten days before the actual event in Hawaii may sound exceedingly luxurious, but don't let the sound of it fool you. Leading up to the race, Dr. Aaron gets to know the athletes and their ailments, their weaknesses, their pain-points, and everything that makes them tick. He employs a combination of prehab, muscle work, massage, adjustments, and stretches. It's ten solid days of heavy-duty body work before the big day. 

Dr. Aaron spent his time on raceday manning the t2 medical tent. For those of you unfamiliar with triathlons, T2 stands for "transition #2", which is the time between the 112 mile bike and the marathon (26.2 mile run). He sees the gamut of injuries from blisters, to vomiting, to road rash, and beyond. It's not a glamorous job, but to be in the midst of such high energy and incredible athletes makes it exciting and exhilarating... especially when his very own patients walk (hobble?) away with the World Champion Title! 

Pete Jacobs and Leanda Cave 2012 Winners

Pete Jacobs and Leanda Cave 2012 Winners

Dr. Aaron's experience with working at premier events such as Ironman gives him a strong understanding of the particulars of races, as well as the tolls triathletes put on their bodies. He continues to work with numerous triathletes ranging from amateur to professional and truly understands the ins and outs of the sport(s). 

Here are a few of Dr. Aaron's favorite stretches for triathletes:

If you're a triathlete in the Bay area, do yourself a favor and book and appointment at VSWI and see for yourself how you can take your training to the next level. If your body is healthy and capable, a PR is in the cards.